4 Critical Steps for Poultry House Ventilation Design (Global Adaptation)
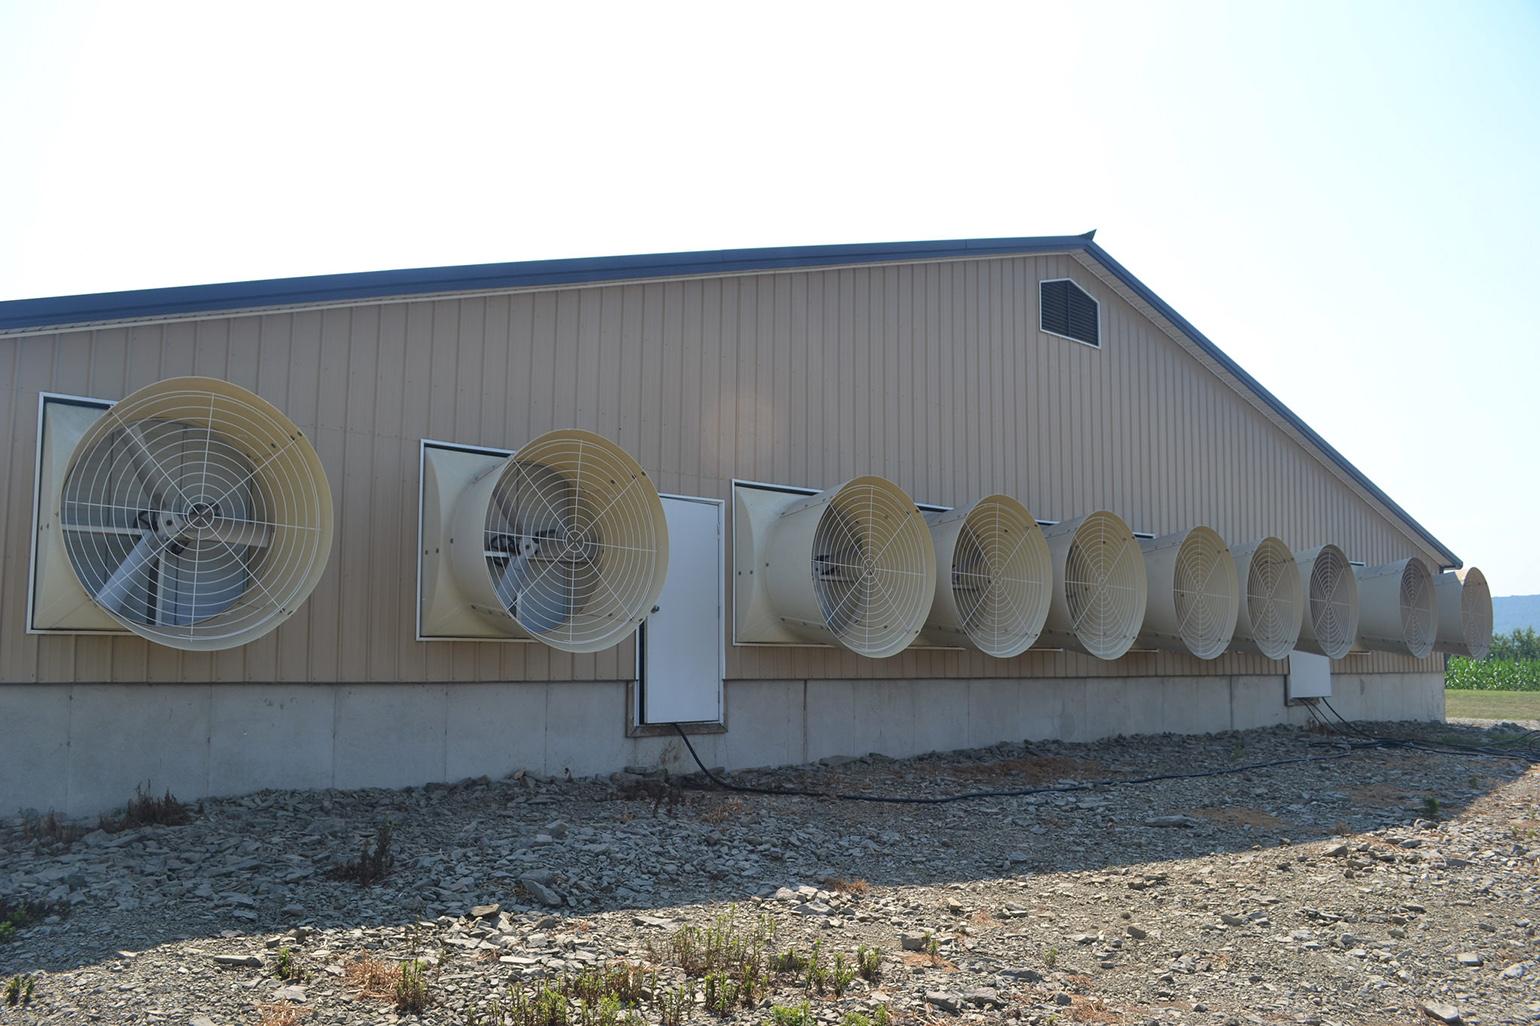
Let’s be real—when it comes to poultry house ventilation, there are 4 non-negotiable steps you can’t cut corners on: picking the right ventilation mode, planning equipment layout, choosing the best gear, and nailing the control setup. Screw up any one of these, and you’ll end up with drafty barns, stressed birds, or sky-high energy bills.
Here’s a simple way to think about it: Ventilation management is like raising kids—equipment selection is the nutrition. Skip out on quality “nutrition” (aka the right fans or coolers), and your flock will never reach their full potential—whether that’s faster growth, better egg production, or lower mortality.
Choosing the right ventilation equipment all boils down to four things: your poultry breed, rearing system (cage vs. floor), flock size, barn dimensions, and the gear’s actual performance. Let’s break it down into no-nonsense tips that work for farms across the globe:
1. Tunnel Fans (Longitudinal Fans) – The Backbone of Your Ventilation
What to Look for When Buying
· Stable airflow curves that’re third-party certified (look for AMCA or ISO 12301 ratings—trust me, this matters for consistency)
· Corrosion-resistant parts (huge if you’re in humid areas—rust kills fans fast!)
· High-quality, energy-efficient motors such as a 1.5KW HNRK160 EC motor (IE3 or better—saves you big on electricity bills long-term)
Recommendations by Rearing System
Floor-Raised Barns (Broilers, Turkeys)
Standard 50-inch series ventilation fans are your best bet for most setups. If you have a narrow, long barn (think less than 12m wide and over 80m long), go for 50-series duct fans or 54-series models—they push air further and more evenly. Pro tip: Avoid installing fans on the side walls at the barn’s end—this creates weird dead zones where air doesn’t circulate.
Cage-Raised Barns (Layers, Pullets)
Opt for high-airflow 50-series duct fans or 54-series fans (18,000–22,000 m³/h capacity). Fewer fan groups mean smoother airflow increases as temps rise—no sudden hot/cold spikes, no constant fan cycling, and way less bird stress.
2. Cooling Equipment – Beat the Heat, No Matter Where You Farm
Cooling needs change drastically based on your climate—here’s how to adapt:
Cold Temperate Zones
(Examples: Central Canada, Norway, Sweden, Finland, Alaska, U.S. Northern Plains)These areas have short, dry summers (average highs 15–25°C) and brutal winters. Skip expensive evaporative cooling pads—sprinkler/misting systems work better here. They double as humidifiers (since air is dry) and coolers, cutting your installation costs by 30–40%. Perfect for those random heatwaves that pop up!
Arid Zones
(Examples: Australian Outback, U.S. Southwest (Arizona, New Mexico), Middle East, Western Cape (South Africa))Dry air = evaporative cooling pads are absolute game-changers. On 35°C (95°F) summer days, they’ll drop barn temps to 22–25°C (72–77°F)—right in the sweet spot for poultry. You can even downsize your pad and fan count by 15–20% here (dry air evaporates water faster, so you need less gear).
Humid Subtropical/Tropical Zones
(Examples: U.S. Southeast (Georgia, Alabama), Thailand, Malaysia, Brazil, UK, Netherlands)High heat + sticky humidity (70%+) kills evaporative pad efficiency—air can’t hold more moisture, so cooling stops working. You need two things: A sprinkler system that switches between tap water and well water (well water is 10–15°C cooler!) and tunnel fans cranked to 2.5–3 m/s. When pads fail, hit the 井水 spray—forced cooling saves your flock from heat stress.
Pro Tip for Pad Inlets
Use 50–60mm insulated color steel panels, stacked in 2–3 layers. In summer, they direct air gently (no cold drafts on birds!), and in winter, they lock in heat (cuts energy waste by 20–30%). If you have the budget, upgrade to integrated insulated inlet windows—they’re way easier to adjust and seal tighter.
3. Sidewall/Roof Fans – Precision Ventilation for Chicks & Layers
These auxiliary fans are make-or-break for minimum ventilation—especially in winter. Here’s how to choose:
Floor-Raised Broiler Barns & Layer Hatcheries
24-series variable-speed fans are non-negotiable for chicks. Let’s use a real example: A 20,000-bird broiler barn with 7-day-old chicks needs 3,100 m³/h of air on -10°C (14°F) winter nights and 3,860 m³/h on 5°C (41°F) days. One 24-series fan (min airflow: 4,320 m³/h) fits perfectly. 36-series fans are way too big (7,500 m³/h minimum!) and fixed-speed fans don’t give you the precision chicks need.
High-Density Cage Broiler Barns
Go for 32/36-series variable-speed fans (7,500–12,000 m³/h). Add one 24-series fan for winter brooding—chicks need that gentle airflow to stay warm and healthy.
High-Density Cage Layer Barns
Most commercial layer farms worldwide do two things: Move pullets at 60–90 days and skip supplemental heating (they rely on bird body heat). 32/36-series variable-speed fans are your best bet. Example: A 30,000-bird barn with 18-week-old pullets needs 20,100 m³/h on -10°C nights and 30,600 m³/h on 0°C days. Two 36-series fans (17,000–34,000 m³/h range) cover it perfectly—24-series fans are too small and lead to ammonia buildup.
4. Inlet Windows – Don’t Overlook the “Lungs” of Your Barn
Inlets control how air flows into your barn—get this wrong, and even the best fans won’t help.
· Narrow barns (<12m wide): Use sidewall inlets—easier to control airflow.
· Wide barns (>15m wide) or barns with ceilings: Go for roof inlets—they spread air evenly across all cage levels.
Sizing Tips
Floor-Raised & Hatchery Barns
Stick to small inlets (560x270mm, 500x395mm). Chicks and young birds don’t need massive airflow—small inlets prevent cold drafts and keep negative pressure ventilation steady (0.08–0.12 inches water column).
High-Density Cage Barns
Go big (800x395mm, 1200x395mm). More birds = more air needed. Case in point: A 50,000-bird layer barn (100m x 15m x 4.5m) needs 180 small 560x270mm spring-loaded inlets—they’re a pain to adjust, and rods stretch over time (leads to uneven opening). Swap to 100 large 800x395mm gravity-fed inlets—fewer parts, smoother operation, and consistent airflow.
5. Climate Controllers – The “Brain” That Ties It All Together
Your controller should match your ventilation strategy—don’t just buy the cheapest one!
By Winter Ventilation Mode
· Timed cycle ventilation: If you’re switching fans on/off at set intervals, get a controller with percentage-based inlet adjustment (20%, 40%, 60%—simple and reliable for small barns).
· Variable-speed continuous ventilation: For non-stop, precise airflow, you need a controller with analog or negative-pressure control. It syncs inlets and fan speed to keep conditions perfect—no guesswork.
By Fan Groups & Stages
· Small to medium barns (<20,000 birds): 5–8 ventilation stages are enough for transition seasons.
· Large barns with tunnel/cross ventilation: Go for 12+ stages. A LINO Touch MAX multi-stage ventilation controller supports this level of granular fan staging. Gradual airflow adjustments keep birds comfortable—no sudden blasts of air that cause stress.
Bonus Features to Look For
· Wi-Fi connectivity (control from your phone—game-changer for busy farmers!)
· Data logging (track temp, humidity, and pressure to spot issues early)
· Integration with farm management software (syncs with feeding and health records)At the end of the day, great poultry ventilation isn’t about buying the most expensive gear—it’s about matching the right equipment to your climate, flock size, and barn design. These tips work for farms in Canada’s sub-zero winters, Australia’s scorching deserts, and Southeast Asia’s humid tropics—no matter where you’re located.
Related Guides & Projects
For real-world application references, see our project case studies such as Thailand broiler farm ventilation automation case.
For a focused purchasing method, use our poultry fan selection guide based on static pressure.